Children usually decorate everything with stickers such as water bottles, notebooks, table cases, phone cases, laptops, binders, anything that a sticker will stick to. Kids can find tons of awesome sticker deaclas available on Amazon, however instead of purchasing them, they can enjoy & learn how to make DIY stickers with parchment paper & tape at home.
Do you really want to create DIY stickers with parchment parper & tape ?
To make DIY stickers with parchment paper & tape , this article will help you create similar to ones that you find in stores. You will come to know about the methodology & technique to create DIY stickers with tape and parchment at home with kids.
Follow the simple instructions on how to make DIY stickers with parchment paper & tape & how to take care of them when removing from their back.
If you are really eager to create art & craft ideas in your free time, here is how to make your own custom vinyl decal business or just want to make DIY stickers at home for your family, friends or for yourself! Also, check our latest article about best printer for art prints for your art & craft ideas.
If you want to make your own nail decals wax paper or print your vinyl stickers check our guide about 10 best vinyl printers

Table of Contents
Why are DIY Stickers used?
DIY Stickers With Parchment paper ar good for anything you want to personalize, advertise, customize, or label.
We have some ideas of what you do with DIY Vinyl decals and printable vinyl either you want to wow your friends or just customizing for selling decals online.
You can:
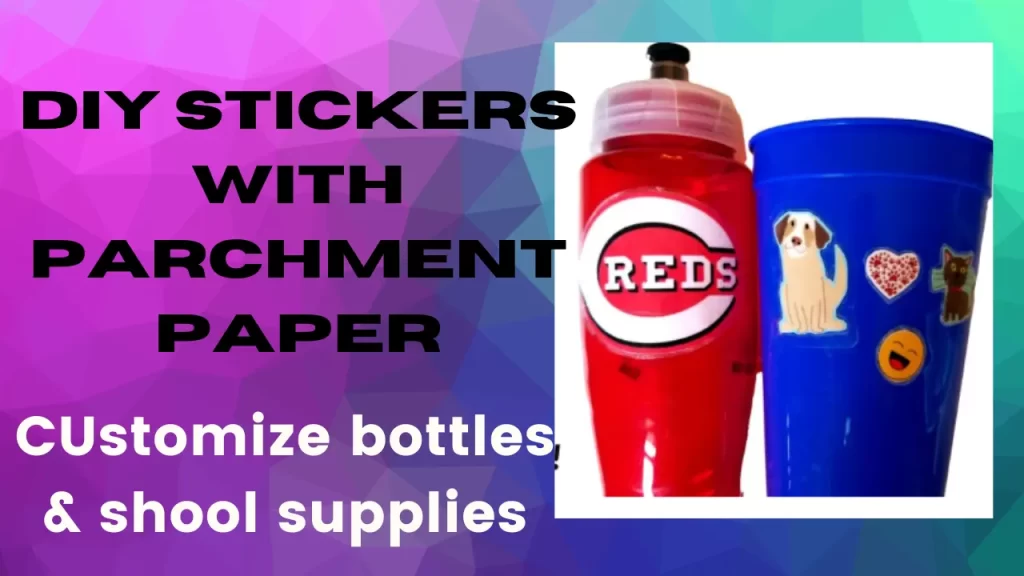
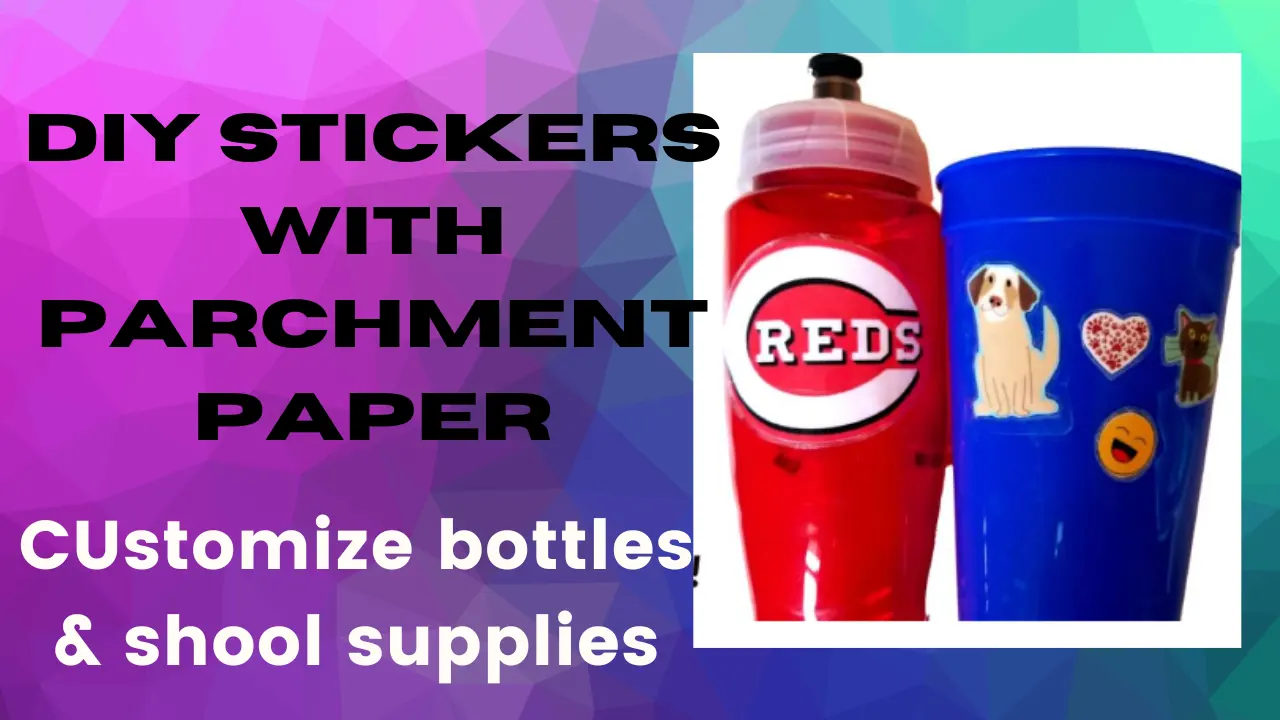
- personalize mugs, water bottles and tumblers
- decorate lunch boxes,pencil boxes and lockers
- advertise for Pinterest,your blog or company
- sticker for any band
- decorate your laptop and phone
- make bumper decals or stickers for your car
Let’s talk about what exactly is printable vinyl, and why they make the perfect material for colorful stickers.

How to Create DIY Stickers with Parchment paper- Only 4 Items
You may find the majority of the supplies already at home. You loved to DIY stickers with parchment project in the past! However,our list of items will help you create your DIY stickers project.
- Parchement Paper
- Packing Tape
- Paper for your images
- Scissors -pencils, erasers, pens, markers, crayons, etc. to colour and decorate with
How to make DIY Stickers with Parchment paper
Once you collect all required items, you will follow simple process of making your own personalized sticker decals using transfers or sticker paper. You are going to use this transfer paper to make DIY Stickers With Parchment paper and tape.
Some creators might tell you to make your own nail decals with wax paper, bue We promise you that parchment paper is definitely the best way to make DIY Stickers With Parchment paper at home.
Instructions
1. Draw Your Design or Print
Draw Sticker Desgin on thin paper or you can print it if you have vinyl printer
First draw your sticker design on thinner side of the paper for a thick paper might cause extra air bubbles when lifting of the tape.

2. Cut out your images
Next cut you design on Parchment Paper but make sure you cut the parchment paper large enough to fit the item you are going to decorate with your sticker decal. Cut the parchment paper large enough to fit your bottle or mug or the item you want to decorate.
To cut the parchment paper , lay it on a flat surface, next rip off a larger piece of tape & place the sticky side on the parchment paper. Your parchment paper will become the back of your sticker decal.
3-Put a piece of packing tape onto parchment paper
Cut the sticker design from the thin paper same size or a little larger than the parchment paper for it will serve as your transfer paper. Make sure you cut arround the images or fonts and place them on top of the parchment paper & the tape.
Little and soft hands could help you with the homemade sticker decals. You will find this process very easy. You can peel off the parchment paper when you are ready to stick them anywhere or your desired item.
4-Place your image on top of the packing tape
Place your design or image on top of the packing tape that you already stuck on to the parchment paper.
5. Place again another piece of packing tape and place it on top of the images
Now add another strip of tape on top of the sticker decals and the order would be parchment paper, sticking tape, sticker image and the sticking tape.
6. Cut out the DIY sticker decals
Cut arround the image and make sure you leave the surrounding area around your stiker decal. Make sure you cut out the DIY Stickers with parchment paper carefully, & leave a decent amount of extrace space around your sticker decals to leave them waterproof and durable.
You can use iron and set it on its hughes setting and then place a thick copy paper on top of parchment paper & iron it up to 30 seconds. Let the surface become glossy & stiff, once the paper is cool you can peel it off and stick your sticker anywhere you want.

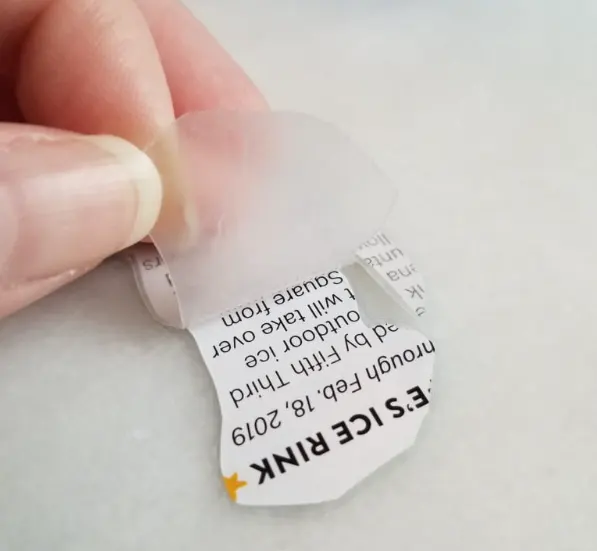
7-Peel off the Parchment paper from back of sticker
Your DIY Stickers With Parchment paper is ready to be used for the specific item you want to decorate or want to gift a friend on Halloween or Christmas. Peel the parchemnt paper off the back of DIY sticker decal by flipping your sticker.
Conclusion
Once you have completed your project of DIY stickers with parchment paper, make sure you clean up your work space. You can let the stickers air dry & when the sticker is done you can flip it and peel off the parchment paper & stick it on any item that you want to customize.
Related Articles:
what Printers I need to make DIY stickers

Mary Johns is a versatile content creator, renowned for her mastery in blog writing and diverse expertise across various niches. With an unwavering commitment to providing in-depth insights, Mary’s blogs offer readers a rich and informative experience, making her a go-to source for knowledge seekers across various subjects.
